Im not sure why but it tends to slow down near the end. This doesn't occur in photoshop.
To create this image, I used the following steps
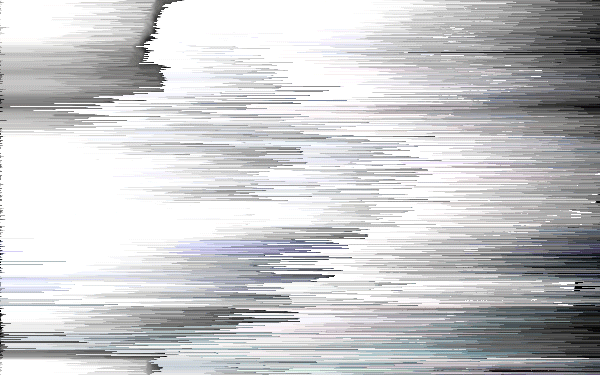
1. Cut out of picture
2. Cooling photofilter(80)
3. Vibrance-Vibrance +60 saturation -40
4. Curves-output 60 input 40
5. Duplicate layer
6. Highpass filter 6.0
7. Merge layers
8. Create a new layer in background
9. Clouds filter with default colors
10. Duplicate top layer
11. Wind filter
12. Erase parts that go over the actual picture and leave those going over background
13. Lighting effects – directional – intensity 35 matte -50 70metallic
14. Duplicate layer
15. Use the wind filter
16. Repeat the process of ctrl j and ctrl f multiple times
17. Once you have about 15 layers, change the wind filter from wind to stagger.
18. Ctrl j and ctrl f
19. 15 layers later, change the wind filter from stagger to blast
20. Repeat about 10 times.
21. Open the animation page and create a frame for each layer using the visibility of the layers
22. (optional) tween the layers
23. Take the final layer and move it to the beginning and tween it to 15 frames
