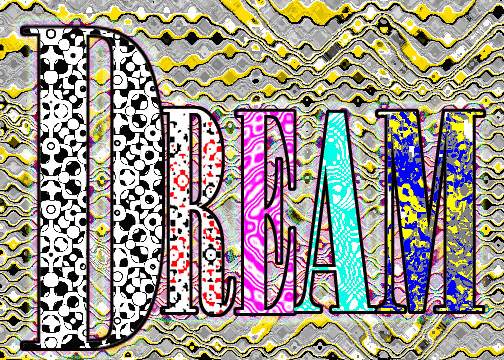
To create this image i used the following steps
- Write the letter "d" using the text tool
- create a new layer
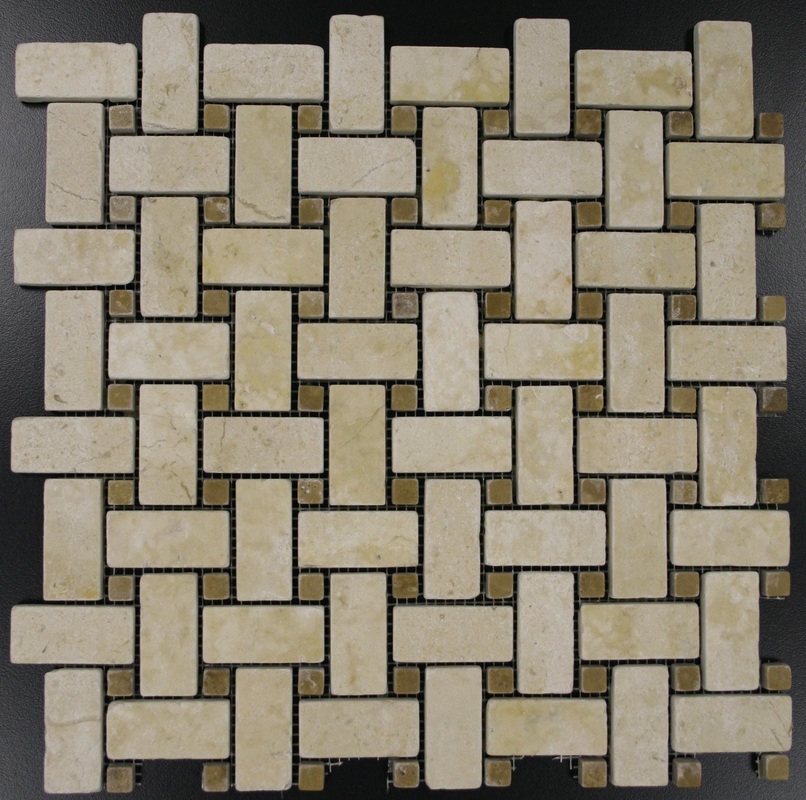
- Create a basket weave pattern using the pen tool and the grid on the new layer (see example)
- use the glass filter set to "tiny lens"
- rasterize the letter and create a clipping mask
- create an R with the text tool
- create a new layer
- create several black and red square dots with the brush tool
- use the glass filter with the tiny lens adjustment
- create a clipping mask
- merge the visible layers
- create two new layers
- on the bottom layer, write the letter E using the text tool
- on the top layer fill the layer with white
- make your foreground color pink and your background color white
- use the halftone pattern filter and set it to circle
- use the glass filter with square
- create a clipping mask
- repeat steps 11 and 12
- write the letter A on the bottom layer
- fill the top layer with white
- set the foreground color to cyan
- use the halftone patterns filter set to circle
- use the glass filter set to blocks
- create a clipping mask
- repeat steps 11 and 12
- write the letter R on the bottom layer
- use the brush tool to make random blue lines and yellow lines on the top layer
- use the glass filter set to cavas
- create a clipping mask
- merge the visible layers
- create a new layer under the old layer
- Make the
- use the halftone patterns filter set to lines
- use the liquify tool and set it to bloat and randomly move around the background
- use the notepaper filter
- Use the glass filter under tiny lens